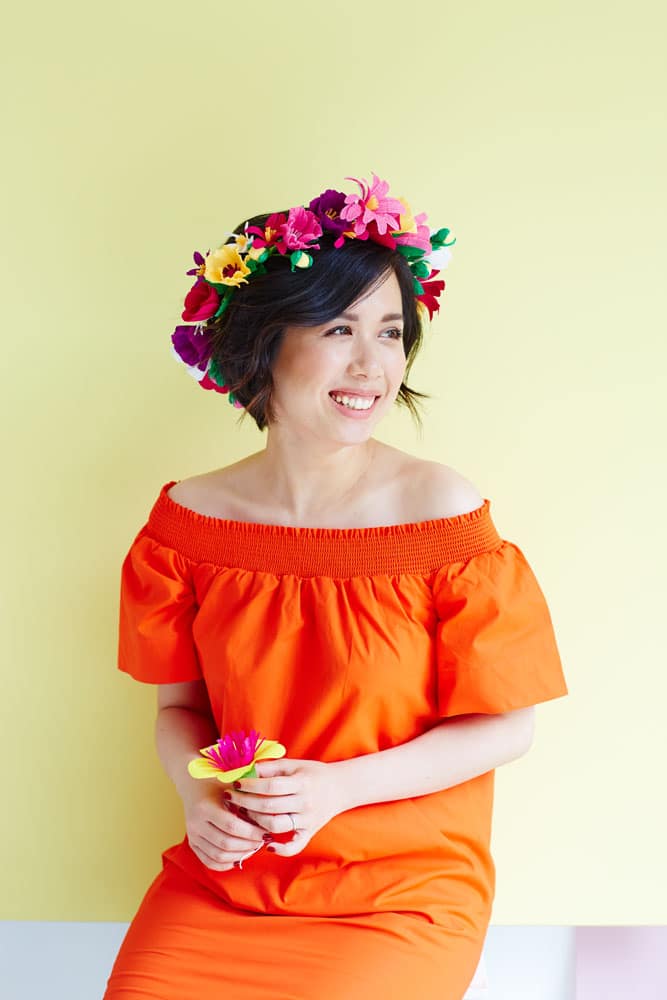
Looking to inject some personality and flair into your wedding day? You’ve come to the right place. DIY weddings are on the rise and it’s not difficult to see why. Handmade details can save you lots of pennies towards your honeymoon, so financially it makes sense. What’s more, it’s your chance to put a mark on your big day to help you truly shine as a couple! Our craft team has cooked up 5 DIY projects that are bursting full of colour, creativity and charm. Not only that, they are also easy to do; and there is something for every bride – whether you are after a beach vibe, supporting an eco ethos or looking to make your bridesmaids swoon, you’ll find something here. Yes, you can thank us in your wedding speech!
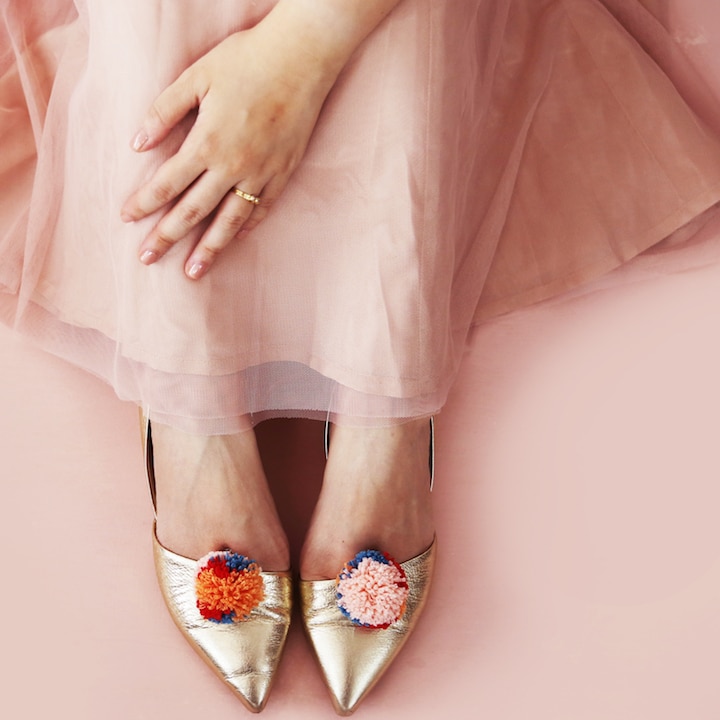
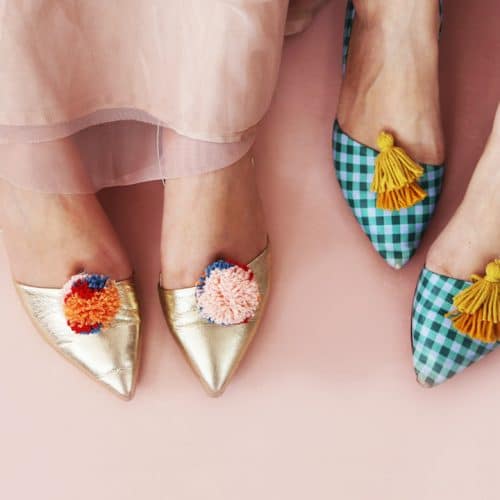
Just because you’re wearing a white dress, doesn’t mean that you need to say goodbye to your beloved colours! Work colour, print and pattern into your footwear, and channel boho chic with pom pom or tasselled shoe clips. You can even have your bridesmaids wear matching clips on their own shoes to inject a bit of fun personality.
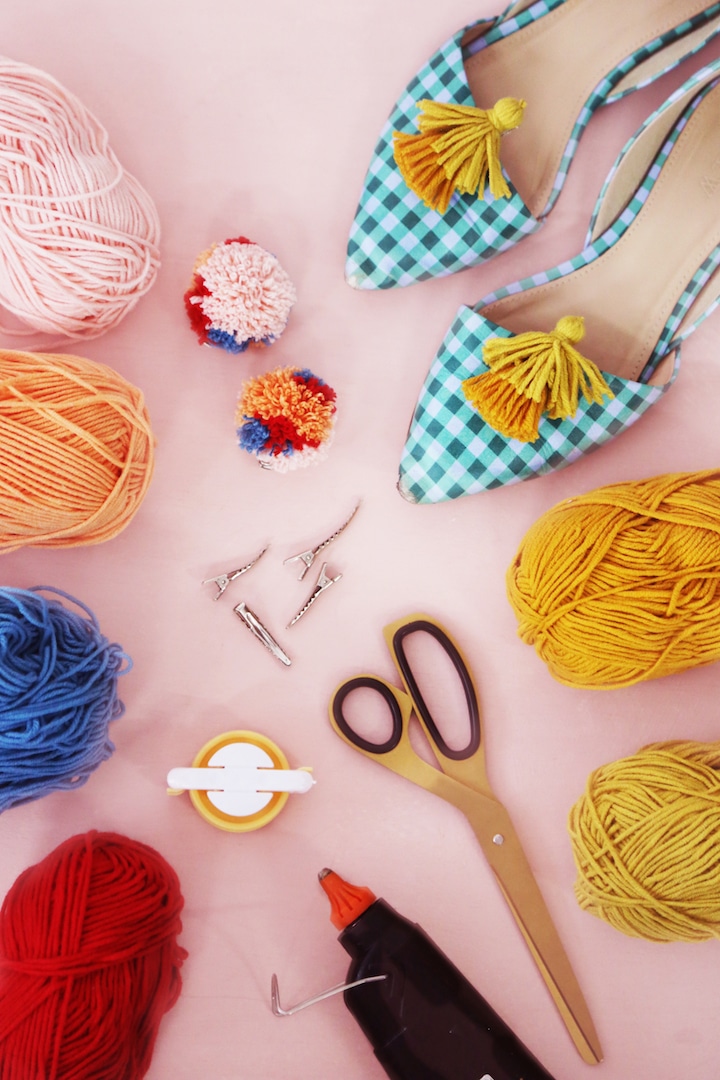
To make your tassel shoe clips:
Materials:
- Yarn (2 colours, 1 spool each)
- Cardboard
- Shoe Clips (can also be substituted with hair clips)
Tools:
Step 1: Start by cutting out a rectangular piece of cardboard about of 21 cm by 5 cm. This cardboard piece will help you in making the tassels as uniformly as possibly.
Step 2: Cut out a 40 cm long strand from the yarn. Then, wrap it around the cardboard 15 times length-wise. Afterwards, slide the looped yarn out from the end of the cardboard
Step 3: Cut out another strand of yarn about 20 cm and tie it tightly near one end of the tassel to form the top.
Step 4: Now, it’s time to trim the ends! Using sharp fabric shears, slide one blade into the loop at the end, and cut the bottom to create separated strands for the tassel. Trim the ends to even out.
Step 5: To make a tiered tassel, repeat steps 1-4 with another colour. To attach the two tassels together, simply apply separate the strands of the top tassel gently, apply hot glue to the knot inside the tassel, then affix the bottom tassel.
Step 6: Affix your tassel onto your shoe clip!
To make your pom pom shoe clips:
Materials:
- Yarn (2 to 3 colours, 1 spool each)
- Shoe Clips (can also be substituted with hair clips)
Tools:
- Scissors
- Pom Pom Maker
- Glue Gun
Step 1: Follow the instructions on your pom pom maker to make your poms. You can vary the colours like we did to create an interesting textured look.
Step 2: Apply your poms onto the shoe clips with hot glue.
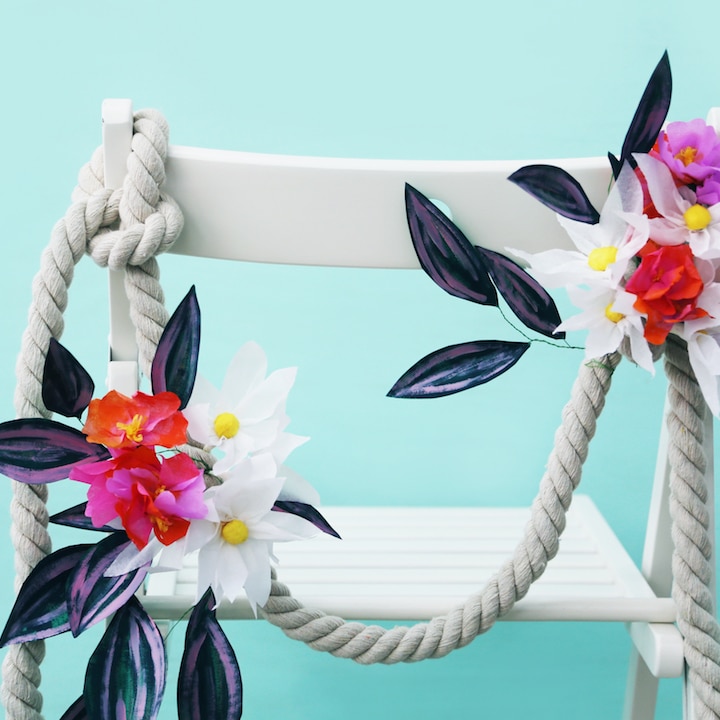
Your guests are going to be spending some time looking at the back of your chair, so it may as well be pretty! This deceptively easy chairback packs a real punch and can be made with just about any kind of paper flowers (or even beautiful silk flowers) and some thick cotton rope.
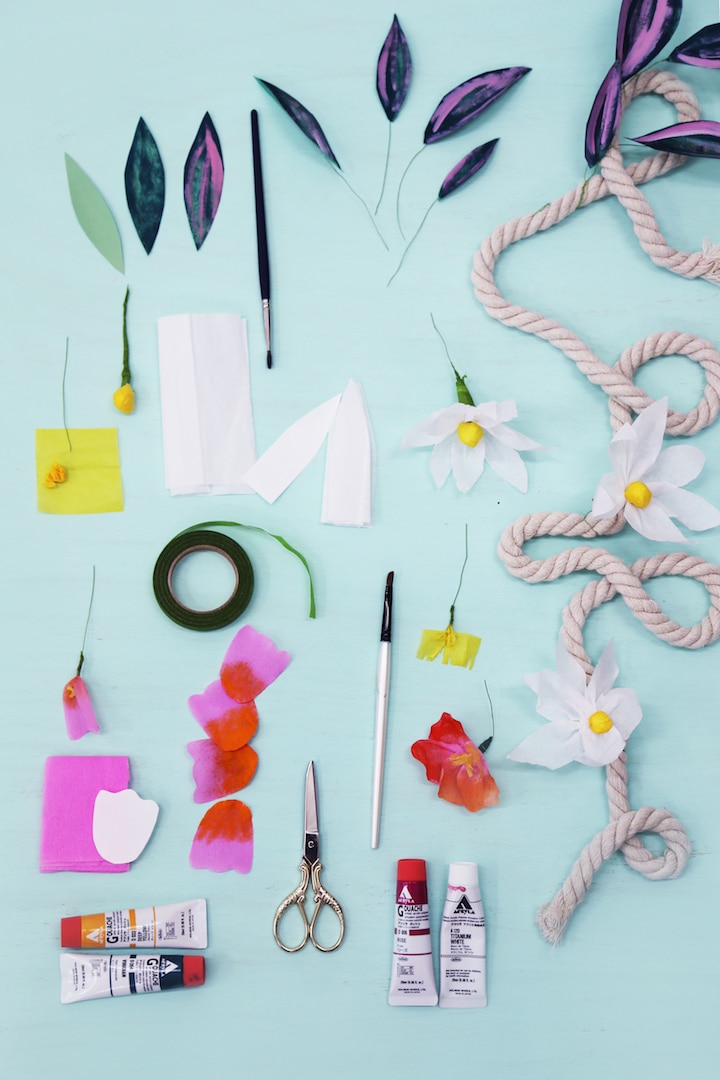
To make the leaves:
Materials
- Green construction paper
- Floral wire
- Tape
- Light pink paint
- Thick cotton rope
Tools
Step 1: Cut 3-4 leaf-shapes from green construction paper, varying in sizes
Step 2: Add streaks of pink paint onto each leaf with a slightly dry paintbrush
Step 3: Attach floral wire to the back of each leaf with tape
Step 4: Fold the leaf gently along the spine to give each leaf natural depth
Step 5: To create a small branch of leaves, wrap the end of the wires attached to the leaves around a longer piece of floral wire. Add 3 or 4 leaves to each branch with the larger leaves towards the top for a natural look.
To make a hibiscus:
Materials
- Floral wire
- Floral tape
- Crepe paper in magenta and lavender
- Orange/ Pink paint
- Paintbrush
- Yellow tissue paper
Tools
Step 1: Cut out small strip of yellow tissue paper and cut into fringe
Step 2: Wrap fringe around the top of the floral wire and secure with floral tape
Step 3: Cut out 5 squares of crepe paper for petals and stack on top of each other
Step 4: Draw shape of petal and cut out carefully (download the template here)
Step 5: Using a dry paintbrush, add a thin layer of orange paint onto each petal from the bottom fading out into the middle. Set petals aside to dry.
Step 6: Pleat and wrap the 5 painted petals to the stem right close to the yellow tissue, securing with floral tape
Step 7: Shape the flower by gently pulling the petals open
To make a daisy:
Materials
- Floral wire
- Floral tape
- White crepe paper
- Yellow tissue paper
Tools
Step 1: Ball up a small piece of yellow tissue paper about 1-2 cm in diameter. Apply a little hot glue and spear into the ball with a piece of floral wire to form the flower centre.
Step 2: Taking a small square of yellow tissue paper, wrap over the balled up centre, gathering the sides around the wire on the bottom of the centre.
Step 3: Cut a piece of white crepe paper about 15 x 5cm, with the grain running along the short length.
Step 4: Fold the crepe paper into 8ths (fold in half, then half, then half again)
Step 5: Draw the shape of the petal and cut out carefully, making sure not to disconnect the sides. The petals should open up in a continuous strip.
Step 6: Gather, pleat and wrap the bottom of the petals around wire directly below the yellow centre, securing with floral tape.
Step 7: Shape the flower by gently pulling the petals open
Step 8: Spear these into a casual arrangement into a thick cotton rope and drap over the back of your chair!
Loved making flowers? You can find lots more from my book Paper Parties!
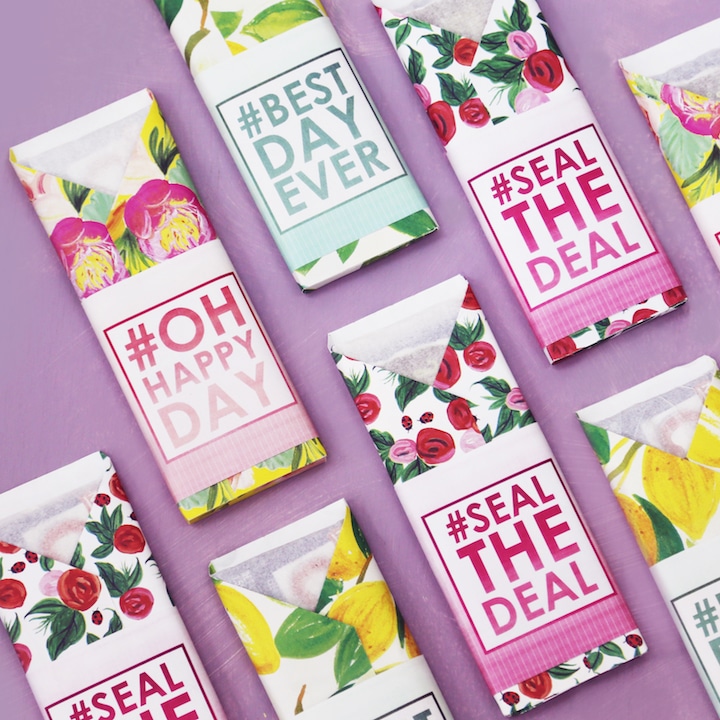
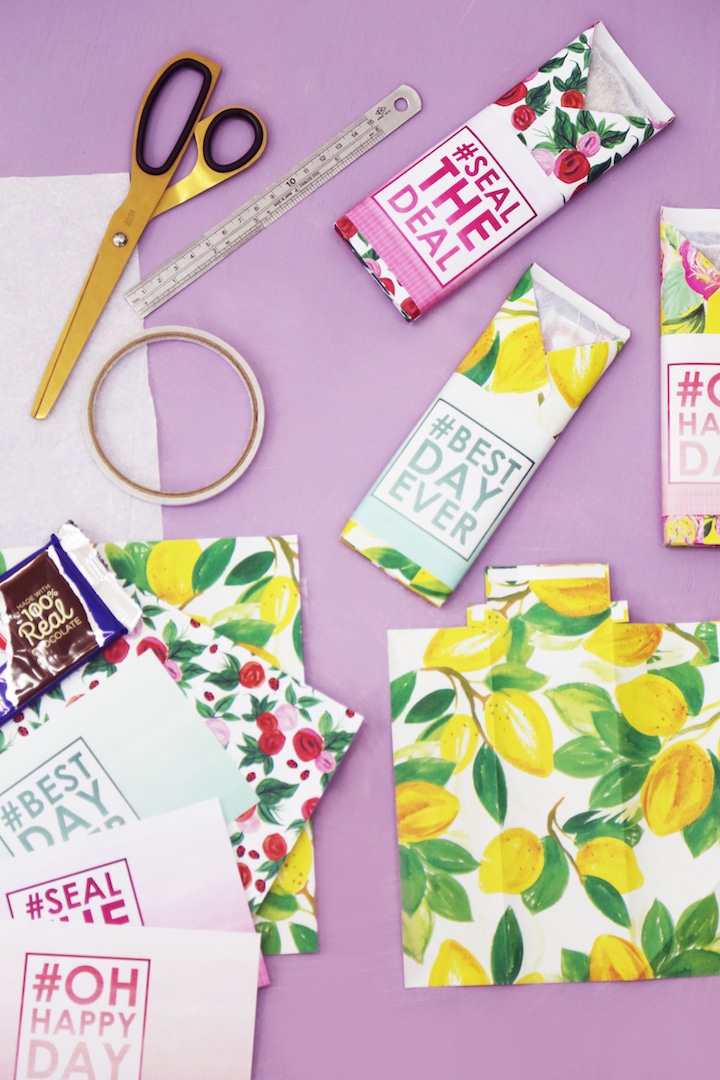
The simplest ideas are the sweetest, don’t you think? The hashtag wrappers around chocolates double as wedding favours and can be personalised as much as you like. You can download our free Hashtag wrappers artwork, or create your own with a custom hashtag.
Materials
Tools
Step 1: Cover the chocolate bars in white tissue or baking paper to create a white canvas.
Step 2: Wrap the bars of chocolates with floral wrapping paper. You can buy the ones in the photo here.
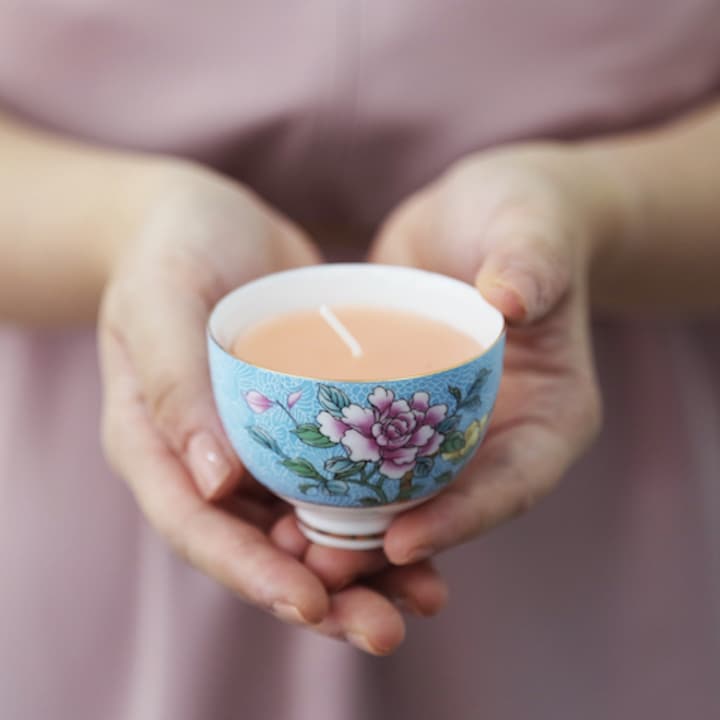
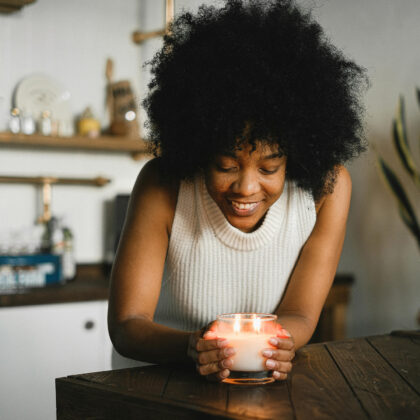
Tea plays a huge part in Chinese culture; giving tea signifies respect and admiration, so a Mandarin Tea Cup candle is the perfect way to say “thank you” to your bridal party they have a relaxing scent – they deserve to put their feet up after the big day too!
Materials
- Chinese style tea cups
- Beeswax
- Candle Colourant
- Wick
- Zest from one mandarin or other citrus fruit
- Optional: essential oils
Tools
- Scissors
- Hot Glue
- Microwave
Step 1: Hot glue your wick to the bottom of the tea cup. Let dry.
Step 2: Melt the wax within a glass container inside a microwave for 5 minutes on full power. Be careful, it will be very hot so use an oven mitt to handle. Stir with a wooden chopstick to melt fully. If there are still lumps, keep microwaving until the wax runs liquid.
Step 3: Mix in a colourant. We’ve gone with orange to match the mandarins but you can adjust this to go with your colour scheme.
Step 4: Mix the mandarin zest, essential oils of your choice, and pour the mixture into the cups.
Step 5: Let them harden overnight, then trim the wicks so that they’re level with the top of the cups. Strike a match and light ’em up!
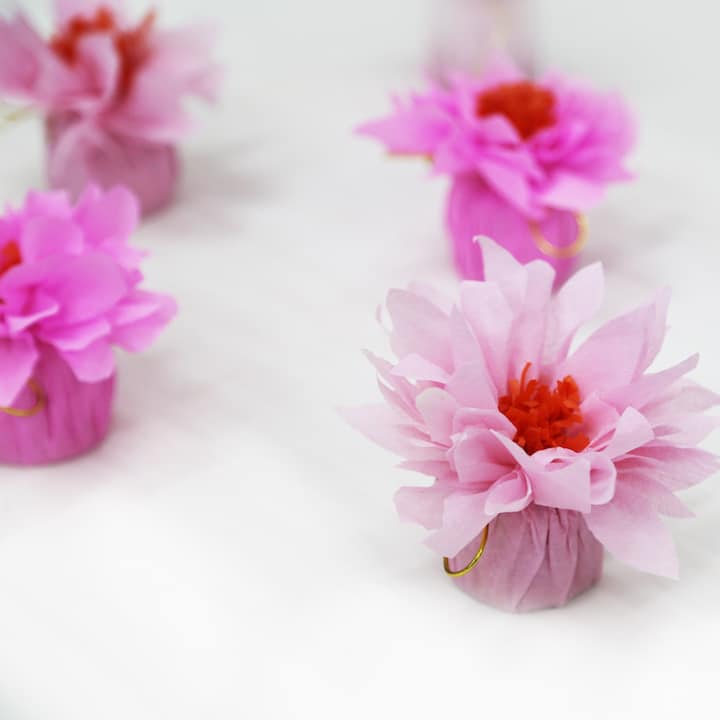
Let love grow! Collect jam jars and small containers, and fill them with soil and seeds of your favourite flowers for your guests to take home. Wrapped into beautiful blooms, they double as DIY decor.

Materials
- Collected jam jars
- Seeds of your choice
- Pink and Orange tissue paper
- Gold thread
Tools
Step 1: Cut out the pink and orange tissue paper according to the template
Step 2: Foil the jar with seeds, then close the lid to secure.
Step 3: Place the jar in the centre of the orange piece, and wrap and gather at the top to form the orange fringed centre. Gently twist with your fingers to create a small bunch at the top.
Step 4: Place the jar in the centre of the pink petal piece, and wrap and gather at the top to form the petals. Gently pinch, and tie tightly with gold thread. Carefully separate the petal pieces to open up your blooms.


 Eat & Drink

 Travel


 Style
Style
 Beauty


 Health & Wellness


 Home & Decor

 Lifestyle

 Weddings