


 Eat & Drink


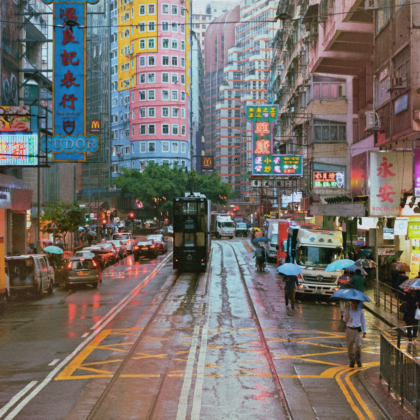
 Travel
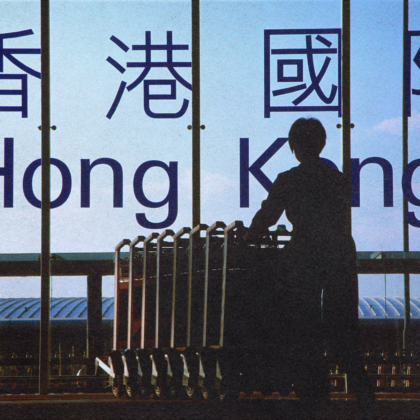


 Style
Style


 Beauty
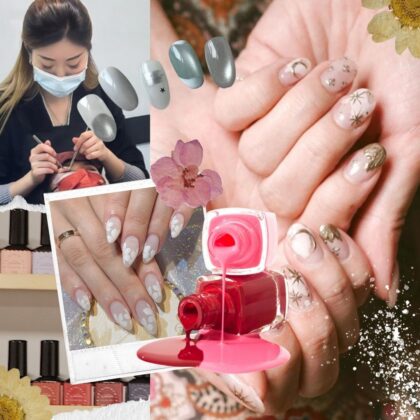


 Health & Wellness


 Home & Decor
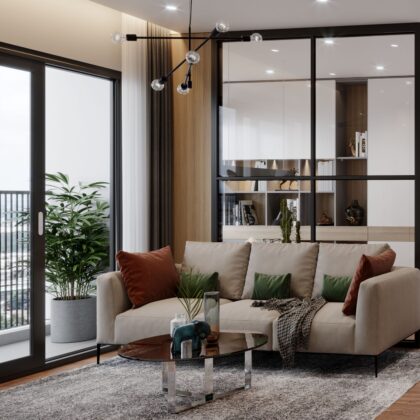

 Lifestyle
 Weddings


Picture Perfect
I came to Hong Kong with boxes upon boxes of stuff, but when I actually moved into my first apartment here, it became glaringly obvious that I had to downscale. I’ve always loved hanging art on the walls and keeping warm reminders of friends and loved ones dotted around my home, but there just simply wasn’t space for multiple photo frames, or even shelving for that matter!
Built-in drawers house a majority of my frames. But the one thing I do have now is wall space! Granted, not a lot, but I wanted to find a way to display all of my memories, without making the space feel cluttered (or costing a bomb!). So, if you’re feeling the same, girls, read on. This weekend we’re getting handy with a quick, affordable and easy DIY project that’ll see you turning old (or new!) frames into a homely piece of art…
Read more: 10 Home Décor Items Inspired by Pinterest that You Can Find in IKEA
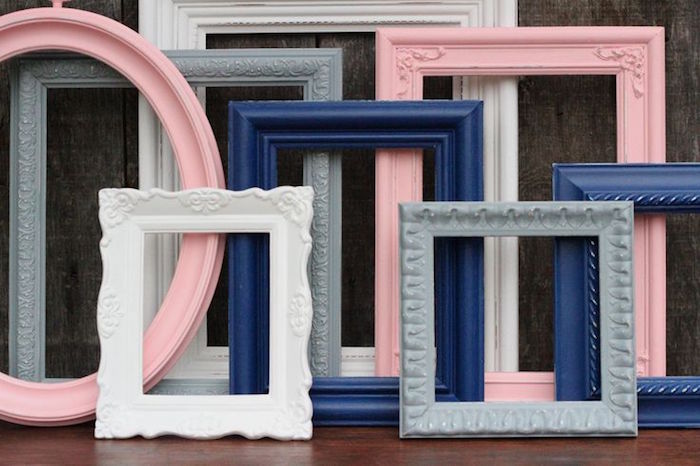
1. Find an Old or Inexpensive Photo Frame
If you already have scuffed or old frames that you’ve been meaning to chuck, then you’re a step ahead! But if you would rather start afresh, then there’s plenty of stores where you can pick up affordable frames – IKEA, Japan Home Centre and Jusco Living Plaza are all great places to start!
Read more: Best Homeware Stores in Hong Kong
2. Spruce it Up
Rules don’t exist when it comes to DIY – it’s literally in the name.
If you like your frame how it is, then skip a step. But if you’re keen for a refresh, plenty of inspiration can be found on websites such as Pinterest. Annie Sloan (now sold at Thorn and Burrow!) has an amazing range of chalk paints, lacquers and waxes that are totally customisable and can create a glossy or matt finish, depending on your preference. Why not opt for shabby-chic and use sandpaper to scuff the paint?
Read more: That Flat: Inside the Hong Kong Home of Maura Thompson, Co-Founder of Sassy
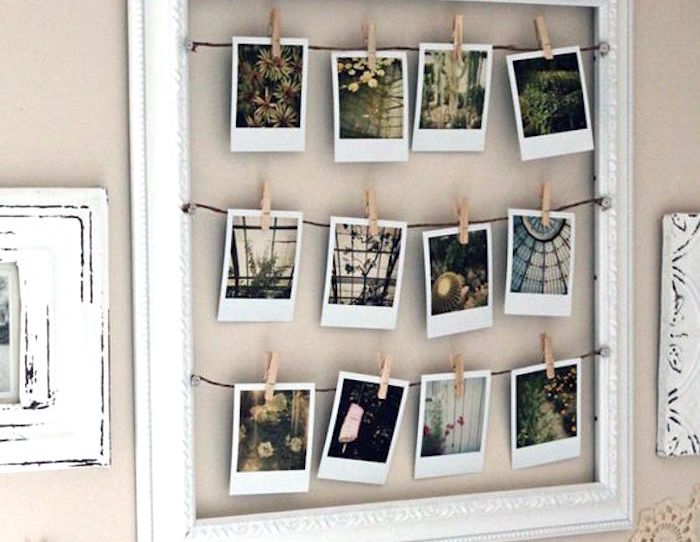
3. Attach the Fiddly Parts
Grab some nails or hooks from any odds and ends stores around Hong Kong (or check out Sham Shui Po for fancier bits and bobs) and on either end of your frame, hammer in the nails and tie any type of cording across the middle. Ribbons, wire or string would do just fine!
4. Find your Favourite Photos
Have some your favourite photos printed, get snapping on your polaroid and start filling up your frame! There are so many variations of this project too, that if space really is minimal, you could even skip the frame and zig-zag fairy lights or across your wall, or use a single piece of wood and leave photos dangling vertically. Get creative, girls! The options are endless.
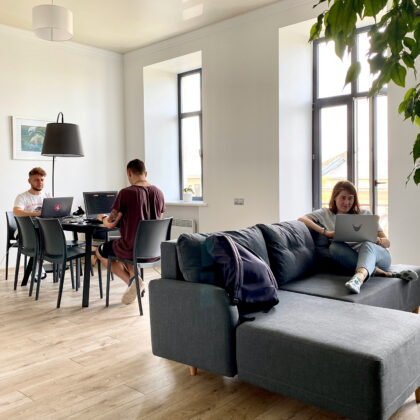
Read more: Working from Home: 5 Tips for Creating a Stress-Free Sanctuary