


 Eat & Drink

 Travel


 Style
Style
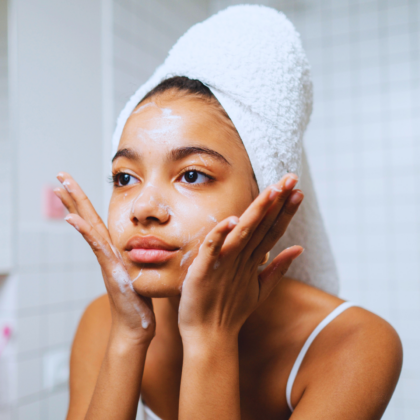
 Beauty

 Health & Wellness
 Home & Decor
 Lifestyle
 Weddings

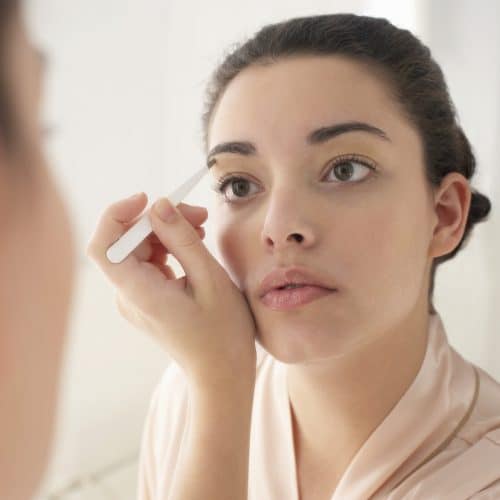
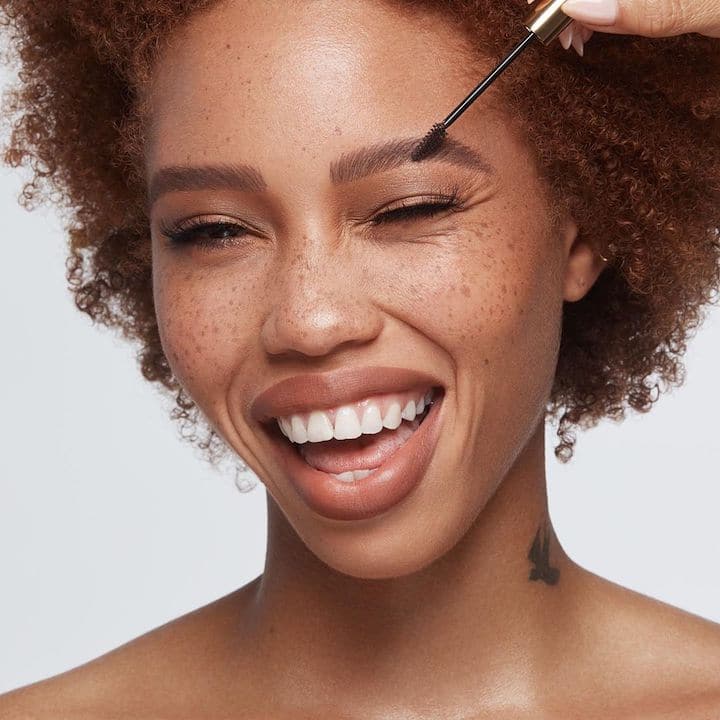
Put your best brows forward!
Brows frame your face and can pull your entire makeup look together, but it can also be incredibly tricky to get them looking the same! However, try not to get too caught up in trying to achieve perfection, as the saying goes think “sisters, not twins”. With a myriad of different ways to achieve the perfect look, let me help explain how to get your brows in tip-top shape without too much effort or hassle.
Read more: 8 Top Tips From A Hong Kong Makeup Artist
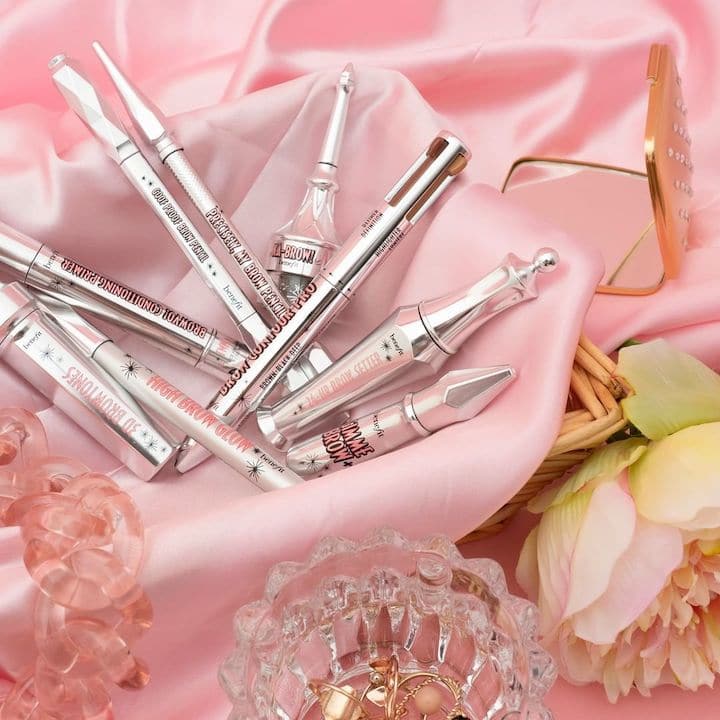
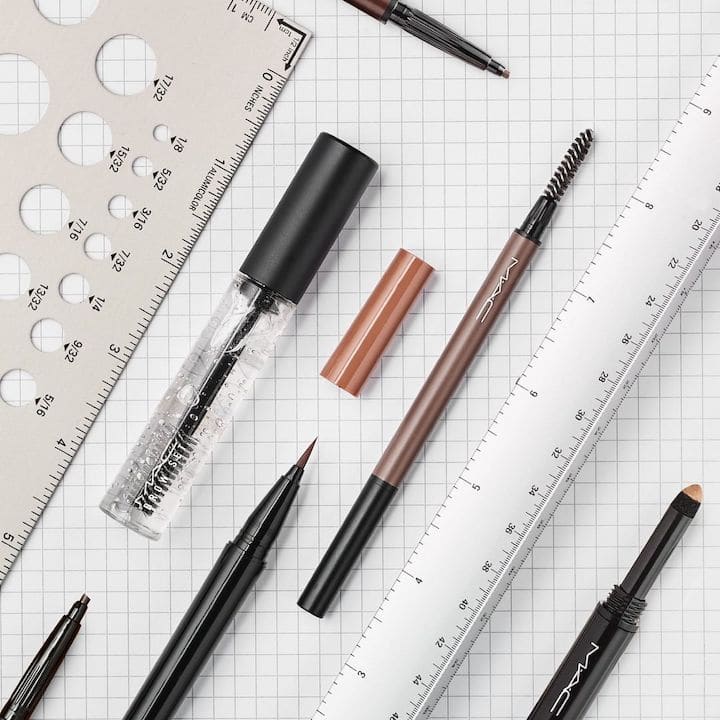
Product Recommendations
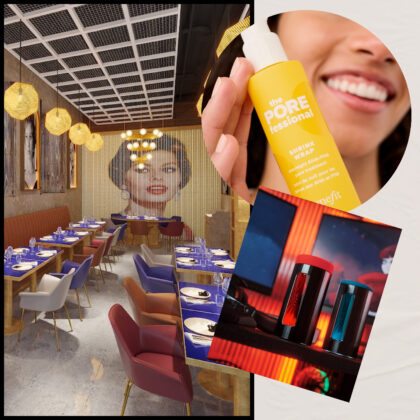
I’m quite the stickler for using a product that proves itself over and over again, and the best brow colour I have come across that hasn’t let me down so far is the MAC single eyeshadow shade in “Espresso”. It literally works on so many skin types it’s amazing – EXCEPT if you have black or grey hair, in which case I think the light application of a black shadow works best. Of course when you go to buy your product make sure you test different colours on your brows first to help find the perfect match. The other two brands I highly recommend trying are Benefit Cosmetics and Anastasia Beverly Hills. Both have extensive brow ranges, so you’ll be sure to find something that suits your needs.
Brow Prep Tips
Brush those brows!
Before I use any product, I use a clean spoolie (a brush that looks like a mascara wand) to coax the brows into place. This allows you to see any gaps that need to be filled in.
The three-section rule
I like to work with brows in the following three different sections.
- The inner section (usually around 0.5 to 1cm wide), where the hair tends to grow straight up or at a very slight angle up.
- The middle section (usually around 2 to 2.5cm wide), where your brow grows at an angle up to the tip or arch of your brow.
- Lastly, the end section (usually around 3cm wide) where your brow grows downwards.
Symmetry of brows – the golden ratio
To find out where your brows should start and finish, use the tried-and-tested pencil trick.
- Place your pencil at the outer edge of your nose sitting vertically upwards and in line with the inner section of your brow. Mark the spot and that’s where your brow should start. If you have quite a big gap and your hairs just don’t grow in this section, maybe start your brows half way in, until you get used to having some colour there again.
- Then, place your pencil in the middle of your nose before angling it towards the middle of your pupil, up to your brow. This will indicate where your arch should be.
- Lastly, angle your pencil at a 45-degree angle from the outer edge of your nose and in line with the end of your eye. This will mark where your brow should end.
As we all have different eyebrow shapes and lengths, I’m a firm believer in applying your makeup where you feel comfortable and confident. Even applying the slightest amount of colour when you’re not used to it can feel full-on, so just take it easy.
Equipment check-list
- Your preferred brow product (whether that’s in shadow, pencil or pen form)
- If you use shadow, you’ll need a good, angled brow brush to apply it – like my KTK brow filler
- A spoolie is essential to brush your brows into shape and evenly distribute the product (sometimes you’ll find this attached to the end of your brow pencil, depending which brand you use)
Application time
Firstly, brush your brows into place with your spoolie and remember the three-section rule I outlined above.
- Start at the inner section with your angled brow brush and load it up with product (remember to tap any excess colour off on to the top of your hand so you don’t start too dark). Apply the colour in upward strokes, using light, short motions to fill in that 0.5 to 1cm area. Remember to avoid making this section box-like, it’s not natural and will look odd. A straight line is fine, but boxy is a no! If this does happen, brush your spoolie through to lessen harsh-looking lines.
- For the middle section, angle your brush upwards and again lightly apply your shadow up to the arch of your brow, filling in with colour where needed.
- For the last section, angle your brush with the tip facing upwards to lightly fill in the end of your brow. If your brow is slightly short, lengthen it so it lines up with the end of your eye. Just ensure the end is pointed and on the thinner side. Once again, go back over it with your spoolie to distribute the product more evenly and brush any stray hairs back into place.
Top Tips
- The aim is to replicate thin lines that look the same as your brow hairs, so go lightly first and gradually build up.
- You don’t need to fill your entire brow in, only where there are gaps or any lightness.
- If you find you’ve drawn your brows on too dark, go back in with your spoolie and brush the product through to distribute it further and lighten any darkness.
- If you find your brows resemble dark slugs after you’ve drawn them on (yikes!), lightly swipe a cotton tip through your brows several times. This will help to lighten the colour and remove excess product.
As always, practice makes perfect!
Read more: A Makeup Artist’s Guide to Covering Redness And Rosacea
Featured image courtesy of Getty Images, image 1 courtesy of Benefit Cosmetics via Instagram, image 2 courtesy of Anastasia Beverly Hills via Instagram, image 3 courtesy of MAC via Instagram.